Sunday, June 30, 2013

Mother Goose - Week 3

We are still rocking and rolling with Mother Goose Time's curriculum! I'm going to highlight a few of our favorite activities from this week!

We have done a lot of handwriting practice on the included sheets. There was also a fun beginning addition cactus flower activity as well! We talked about the letter Y, color orange and the number 18 in similar ways we talked about H, 17 and brown in previous activities.

One fun thing I forgot to photograph was an experiment activity to discuss how a plant's coating helps it in the desert climate. We wet three paper towels - we let one lie flat, rolled another one and the last one we also rolled but covered it with wax paper. We placed them on a cookie sheet and allowed it to sit until the next day. We talked about how a waxy coating would help a plant stay moist because when it is super hot and sunny outside, things dry out. It's actually a perfect lesson this week because it is super hot outside! You may notice that the boys are half nekkid in most of the photos! Another great perk to homeschooling is that clothing is optional! Haha!

One thing that I appreciate about Mother Goose Time's boxed curriculum is that the activities re-use some of the materials from previous activities. We have used the foam squares in several activities this month. In this activity, we used the squares to match to pattern cards. There were three pattern cards to work on and we started with the easiest and worked up to the more complicated one. Wes loved this activity and I was happy to see he is really mastering the concept of size differentiation.


I began the easier card by only giving him the number/size pieces he needed.


As he mastered the easy card, I gave him more pieces than he needed. I wanted him to really think about which squares he needed.


We all know the story of the Tortoise and the Hare! I was happy to see that they adapted this old favorite to fit this month's theme. This activity included picture cards for the characters and a story prompting to read. Before we began, we practiced running in place really fast each time I said "Hare" and walking in place super slow each time I said "Tortoise". As I read the story, every time I read one of the animal character's names, I held up the corresponding picture card and prompted Wes to say what it was. I gradually faded the verbal prompting and he quickly picked up to say it independently. I really liked the activity because it was really fun for Wes to be so involved in it by running or slowly walking in place for the "hare" and "tortoise" parts, but also got him eagerly engaged because he wanted to name the picture cards. The story was printed in a nice larger font to allow for easy reading and contained bolded character names to make it easy for me to stay on top of which cards to use. As with most of their reading activities, there were some discussion points on the back to expand on.


This week we also made a "Where Is" book. We first went over each page and matched the animals to their pages before we glued them on. The fun thing about this activity is that it also gave us an opportunity to go over some Spanish since it is printed with English followed by Spanish translation underneath. After we assembled our book (and the glue dried), Wes colored most of the pages. 

Wes matching the animals with the right cards


There was a fun sight words activity which we have turned into a "On The Go" activity as well. I hid the letter cards around our living room and placed the smaller sight word cards in a small pitcher. I had Wes pull a small sight word card and identify the starting letter. He then had to find the letter card and we went over the individual sounds (ex. R "Rrrr" and UN "Uh-nun"), followed with combining them to practice sounding out the word. I have taken these cards and put them in a sandwich sized ziploc bag and I have them in my purse for times we need to kill time on the go. They came in super handy when we ate out recently.

Picking the word cards

Finding the letter cards

Sounding out our words


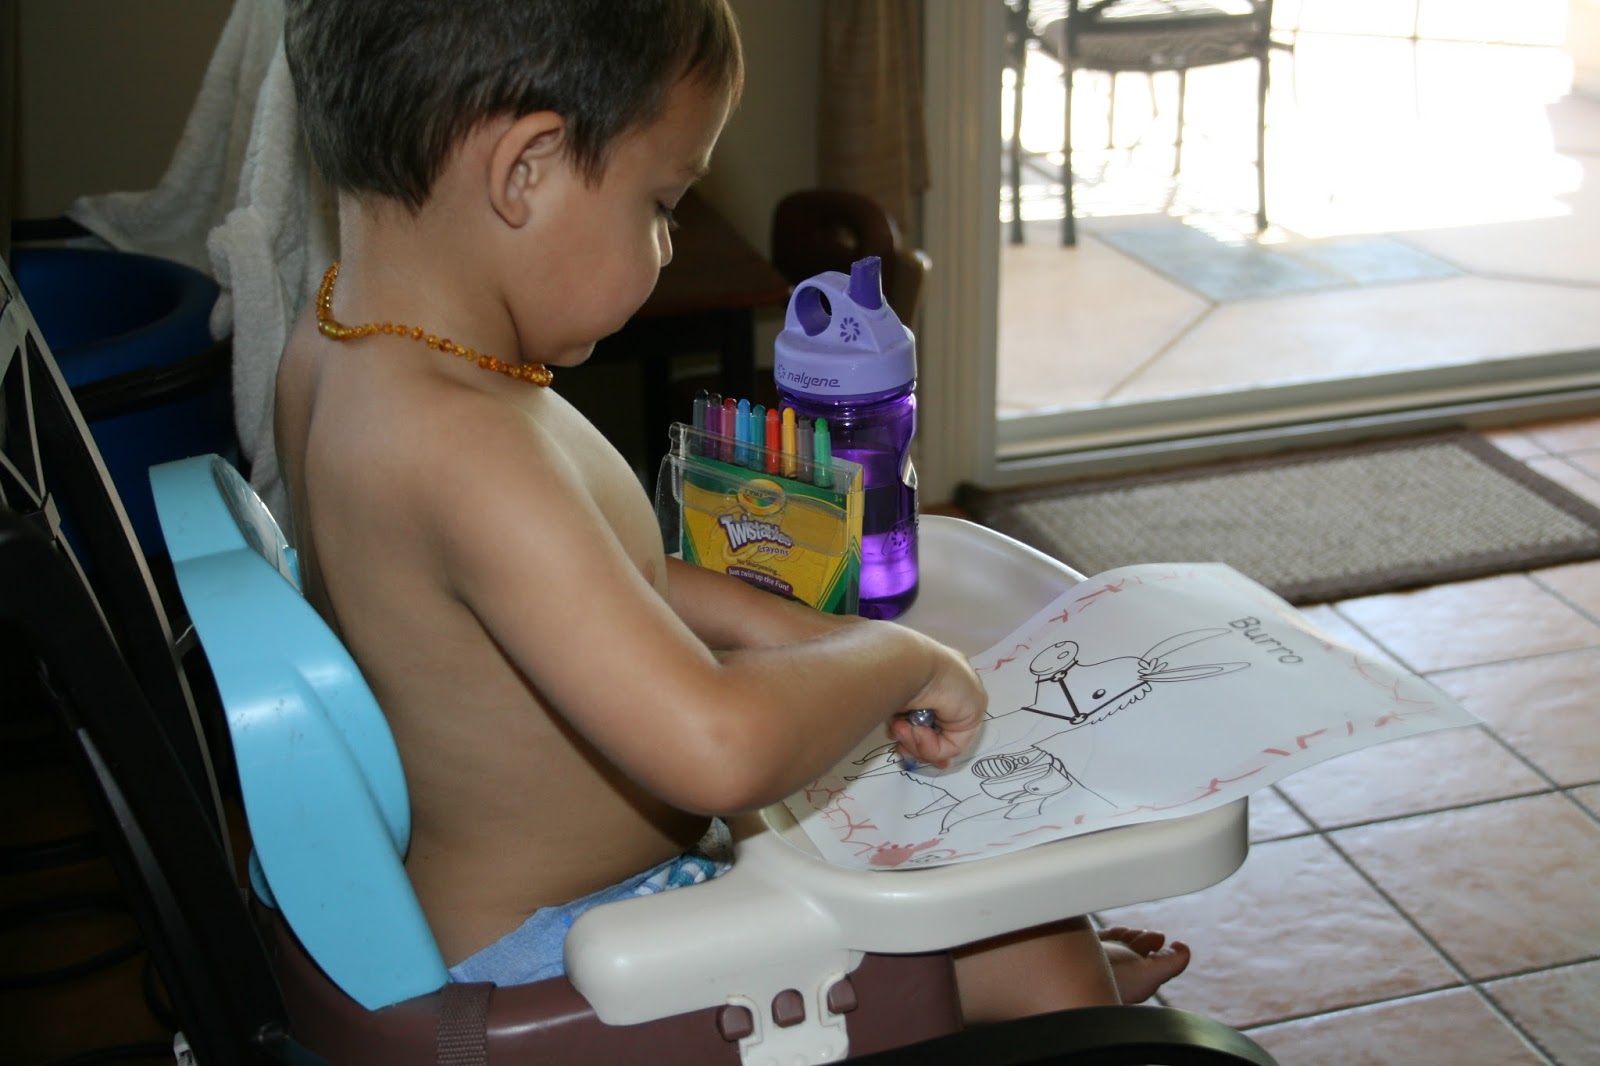
Wes absolutely loves to color each days theme pictures as well.


One of the boy's most favorite activities from this week was painting and decorating tortoises. The kit included small bowls to paint as the tortoise shells, so we set out doing that first. Wes added glitter for some extra flair! We finished the tortoises by attaching them to the included tortoise die-cuts and adding googly eyes! There was yarn to attach for tortoise races, but Wes adamantly refused to add yarn. Who knows why, but yarn just wasn't going on his tortoise.


Brady's (left) and Wes' (right) tortoises

One of the cooler materials I've seen in curriculum are these cornstarch pellets. I placed a wet paper towel in a bowl for Wes to moisten the pellets. When moistened, they attach to each other and stick together. Wes made a cactus in the included bowl. He was so proud of them! 


Lastly, I wanted to mentioned that we talked about Egypt and where it is on the world map. The curriculum included a postcard sized Egyptian flag. I used that to talk to them about how each country has their very own flag, which led us to talk about the American flag and the significant symbols on it. Good timing since July 4th is just around the corner!


The Egyptian Flag


Since beginning the curriculum, I have noticed that Wes is more aware of our surroundings. He spots a cactus and yells out "CACTUS Momma!". On a recent trip to the zoo, he was very interested in the camels, donkeys and snakes. I can really tell that he is very interested in the topics he is presented through the curriculum and that the lessons and their multi-sensory approaches have sparked an interest in learning for my boys!

We are also potty training Wes this week! It's been fairly crazy since he is not exactly excited about going #2 on the potty. So it's been quite the challenge (Another reason why he's half nekkid in the photos!). But, it's been really nice being home and being consistent with the potty training! Another huge perk to homeschooling! And, he's mastered peeing and have hardly had any accidents so far!!! Yay!

Wes and his Cars undies!!!


Thursday, June 27, 2013

CRYOOW Dolls

One thing that I have discovered after having kids is that these little monkeys create a lot of artwork. Fingerpaintings, crayon drawings, glittered bombed and pom-pommed to death construction paper picasso inspired creations litter my house these days. I really wish we could keep and display each and every little masterpiece, but I'd end up on the next episode of hoarders. Okay, maybe that's fibbing a little bit. Each night, I guiltily place the bulk of the creations at the bottom of the recycle bin, right under the wine bottles and pray that they don't ask where all of their stuff went. I keep a few special pieces, tucking them away in their memory boxes. But, the bulk of it gets rotated to the rubbish bin after the obligatory weekly display in our living room.

I have to admit, some of the art pieces are just so sentimental because they show who my little ones were at that time. One day Brady came home from school with a painting of the Very Hungry Caterpillar. With a grin from ear to ear, he pulled it out of his back pack and eagerly awaited my approval. It melted my heart and I wanted that moment cemented in stone. I knew that I HAD to preserve and keep that painting forever. He was so proud he painted it and because he absolutely loves the story, we hung it up in his work area. But, I know that that fickle piece of paper will never make it through the years intact. What is a mom to do?

How do you make a meaningful piece of your child's art a keepsake? You have it made into a doll! Say wha!?! Yes, that's EXACTLY what I did when our dear little Brady presented me with that painting of his very, very favorite Very Hungry Catepillar! I have to admit, Brady isn't exactly artistic. He doesn't really enjoy creating artwork. It's just not his thing. So, for him to be ecstatic about his painting really means a lot! The piece was so meaningful for us. We were so excited to have Cryoow make it into a keepsake memento. 

The process is quite simple. It goes a little something like this.

1. You select your artwork and snap a good photo of it, making sure to get a close enough view of the artwork and its details. Like I said, we selected Brady's painting of the Very Hungry Caterpillar. We also submitted one for my friend's son, Mason. He's an amazing little artist for the young age of 8. He drew and colored a Gecko. These are the actual photos I used to submit to CRYOOW.


2. You upload the photo at www.cryoow.com to assemble your doll. 

That's it! It's that simple! After about 2 weeks, you should receive your very own Cryoow doll all the way from Bali, Indonesia! We have talked about where Indonesia is and that how a new friend was coming to visit us from there. When we received the dolls, they were wrapped really cute in their own individual Cryoow bags with matching Cryoow bracelets. Brady thought it was super cool to unwrap. It was like Christmas in June!


These are the actual dolls next to the original art work.


It's amazing how closely the dolls resemble the original artwork. The detail they added really makes it a very close match to the drawings. All of the details are stitched on and the fabric seems very durable.


Cryoow also added a sewn on tag on the back for your kiddos saying, "This original Cryoow puppet was created by ______".


They are phenomenal at making your child's art into a really cool doll. Look at some of these other examples of art turned into dolls. The attention to detail is pretty amazing.


What an amazing way to make your child's favorite drawing into a lasting keepsake. Like I said, this painting of Brady's was very special to us since at this moment in time, that is his absolute favorite book. And, because he was so proud of that painting we wanted to remember it forever. Brady absolutely loves his caterpillar doll! Just look at this grin!


Brady and his Very Hungry Caterpillar


And, my BFF's son, Mason was so surprised when he got his Gecko! He thought it was so cool to have a doll made from his drawing! And perfect timing, they just got a real Gecko that looks JUST like his doll!

Mason and his Gecko


Being the great company Cryoow is, they want to give one of you the chance to win your very own Cryoow creation! The winner will win one customized puppet, made from your submitted drawing! There are several ways to enter! See below for more details!!!
a Rafflecopter giveaway Good luck everyone!

Monday, June 24, 2013

Guest Post by Mai Weston, Friend Extraordinnaire

I am so fortunate to have such wonderful friends. My husband jokes that I would make a friend in the line at the post office and that is completely true. My jibber jack mouth has gained me friends from all walks of life, with vastly different cultures, ethnicities and hailing from all areas of the world. I love the perspectives that these friends have always shared with me and feel that each person has helped me grow into the person I am (and will be).

And, the one thing that I always love about my friends is that no matter how much time has past, we can pretty much pick up where we left off. I have one phenomenal friend, Mai, whose friendship is just like that. With our busy lives we don't get to see each other as often as I would like, but when we do see each other, we are laughing just like we did when we were in high school. 

Mai is married and has a super cute family. She's one bad mother fu, wait, mother of two small children; little boy M, who is going to five shortly and little Miss L, who just turned one.  She's also a master multi-tasker who works, cares for her family all while staying super cool and fashion forward. I'm hoping we will hear from her on a variety of topics in the future!

Today she's writing about Bambi...sort of. Okay, it's about death. It's a topic we all deal with and will have to confront as moms. Mai was gracious enough to share her perspective on it. While no one will have the best way to deal with it and it is so different for everyone, I feel it's really important that we are honest about it with our kids. And, some times just recognizing that our kids are smart enough to ponder the thought of their own mortality is a shocker to us. And, often times, just admitting and accepting that we are freaked out about our own mortality is a hard pill to swallow. 

So, without further chit chat from me...here is Mrs. Mother Extraordinnaire - Mai!


Thanks a Lot, Bambi.

My father warned me. “Don’t let him watch Bambi” he said. My four year old son had been warned that Bambi’s mother dies, but he still he begged me to watch it. Eventually I gave in. After all, it’s a Disney movie. What could go wrong?

Let me back up for a second. My husband’s grandmother died about 6 months ago. This was our son’s first real experience with death.  He seemed fine.  He understood it, he grieved in his own small way, we moved on with our lives. Sometimes he would tell me he missed her. I said I missed her too. It was fine.

And then…Bambi. The first 24 hours were fine. I even called my father and pooh-poohed his caution. And then it sunk in. People die. I’m going to die, he’s going to die, and we are all going to die. There were tears. There was heartbreak. It lasted for a couple days and it was awful.

If I was religious person, there would have been a prescribed way for me to handle this moment.  He’s familiar with the concept of heaven and angels, so that route was available. But whether or not you believe there is an afterlife, the raw facts of death are still the same. And I knew it was my responsibility to deliver that information.  So, I sucked in my breath and put it all on the table – Yes, we will all die.  Hopefully it won’t happen to anyone we love for a very long time. It will happen to you.  And yes, it’s very, very sad.

Sometimes when I see him looking contemplative, I know he’s thinking about death. He tells me “Oh, I was just thinking about dying”.  Recently, he’s really wanted to know about the logistics of death. When do we die? How old will I be when I die? What happens to people’s bodies when they die? My older brother died when I was 12. My son wants to visit the beach where we sprinkled his ashes. It makes me happy that he wants to do that. And it makes me sad.

I’ve been anxious about my own death for as long as I can remember. Mercifully, having children has significantly lessened that anxiety. My life is so full of love and joy, that it doesn’t seem fair to ask for immortality.  Or maybe it’s that motherhood has made me less interested in myself.  Either way, I hope by the time he is my age, the fear will have quieted itself.

Death is my son’s new bedfellow. He’s learning to live with it. He pushes it back to into a dark corner when he needs a respite. I tell myself this is all healthy and normal. It was going to happen eventually. It happens to every person at some point in their life. But frankly, it still makes me a little sad.

- Mai Weston


And, because the topic is a heavy one today, I thought I'd dig up an old photo of Mai and I from high school. Just for poops and giggles.

I HAD to post a photo from high school. I just had to.


Left, Mai; Middle, our friend Delilah; Right, Moi

Friday, June 21, 2013

This Moment - 6.21.13


{this moment} - A Friday ritual. A single photo - no words - capturing a moment from the week. A simple, special, extraordinary moment. A moment I want to pause, savor and remember. 


Wednesday, June 19, 2013

The Most Amazing Body Butter

I used to never make anything from scratch. But, since becoming a mom, I don't know what changed in me. Maybe when I gave birth, some genetic mutation occurred that made me get excited about things like making my own body lotion.

I have some seriously dry skin. Like, so dry it almost looks like I have scales on my legs in the winter. I even resorted to laser hair removal on my legs so I didn't have to shave because it made my legs THAT MUCH MORE dry and itchy. I about tried every lotion out there and there was not one that relieved the curse of dry skin. 

Then someone recommended raw shea butter. And, YES, it DOES work but I didn't like the smell. AT ALL. So, as any of us probably would do, I hopped on Pinterest and found a recipe for whipped body butter. 

This body butter is divine. I'll be honest, at first it's like putting Crisco on your skin. It goes on pretty oily. But, your skin just drinks it up! Plus, it moisturizes your skin for a really long time!

The other great thing I've found is that it has cleared up my son, Weston's eczema. Weston had really bad "chicken skin" on his torso and back. He's in a highly chlorinated pool for swim lessons at least twice a week, which makes it a lot worse. At one point, even the bottom of his foot cracked so deep we couldn't put socks on him. We tried a lot of different things but since it didn't seem to bother him too much, we didn't use anything medicated (other than Neosporin on his foot when it cracked). So, I started lathering him up with my body butter and in about a week, the eczema was COMPLETELY gone! GONE!

I even gave a small sample to my friend for her daughter who had such a bad rash under her chin due to  baby drool. She told me that it cleared it up in a matter of a couple of days. AMAZE BALLS.

So, me being me, I wanted to share with you my favorite whipped body lotion recipe. It's fairly simple to make, contains all natural ingredients (if you use essential oils only) and is by far my most favorite lotion ever!

To make the lotion you will need:
Raw Shea Butter
Coconut Oil
Sweet Almond Oil (Or any other oil like olive, jojoba, grape seed, etc.)
Essential Oils or Fragranced Scent Oil


Here's how I do it...

I take 1 cup of the raw shea butter and 1/2 cup of coconut oil and melt it in a double boiler. I have a bowl that is dedicated to my DIY beauty/craft stuff.


When the shea butter and coconut oil have melted, I mix in 1/2 cup of Sweet Almond Oil. At this point, I'm not going to lie, you're going to have a bowl which looks like a bunch of urine. When it looks like this, you KNOW you are on your way to having something awesome! I am just kidding, of course!


After the shea butter, coconut and almond oils are combined, put the entire bowl in the fridge until it has solidified. When it is solid, it will be quite opaque and hard.


I like to make two, some times three small batches of differing scents. This day, I made lavender-lemon-orange (with essential oils), Juniper Breeze (a Bath & Body Works dupe fragrance from Peak Candle Supply) and Pink Sugar (fragrance from Peak Candle Supply). I really like the Pink Sugar for the boys. It's not baby powder scented like everything else I've found made for kids. 

I like to cut the solidified lotion into three pieces and place in separate bowls to add fragrance to separately.

If you are using essential oils, especially orange or lemon, be prepared to put a lot in. Like 30 drops or more. With the fragrance oils from Peak Candle Supply (or similar), add it sparingly, starting with a tiny amount and adding more to achieve the strength of fragrance you would like. Artificial fragrance are very potent, so don't overdo it!

Once you have added your fragrance, beat with a hand mixer, until it reaches a light, airy whipped consistency. It will look like whipped butter. I store mine in round plastic containers that I purchased through Amazon. 


Make sure you don't store this in an area that is warm. Because this lotion recipe contains coconut oil, it has a low threshold for heat. Seriously, it will turn to liquid at about 80 degrees. If you are in a warmer climate, I'd even suggest keeping it in the fridge. Definitely don't store in your car's glove compartment! I've made THAT mistake for us all to learn from!

I have been making and using this whipped body butter for about a year and a half now. I love it. I've converted many of my friends over to this recipe. It's THAT good. And, I've found almost by accident that it's GREAT for eczema! 

And, one extra bonus...in the summer it gives you that summer glow like you've just slathered on some decadent body oil! I love it on my legs and shoulders for that exact reason!


Monday, June 17, 2013

Growing Your Child's Language: The 4 P's


We are very fortunate to have such wonderful specialists working with Brady. One of the areas he has grown by leaps and bounds is language. We work on language every waking hour of our day. We strive to better Brady's ability to communicate, both verbally and non-verbally. 

I really have to give credit where credit is due. We have a fantastic Speech Language Pathologist working with Brady on a weekly basis, in our home, to really focus on developing his social communication skills. During his hour long session with his Speech Language Pathologist, Erica, Brady learns through play and games. He is developing ways to communicate, initiate and engage in play. We have noticed such a significant improvement in his communication. This improvement hasn't gone unnoticed by others, either. 

What we have also found is that the skills and tips we learn from Erica has helped us develop our younger son, Weston's developing language as well. Because this area of therapy has been tremendously helpful for our entire family, I asked Erica to give us a few tips for GROWING YOUR CHILD'S LANGUAGE. These tips, while extremely helpful for children on the spectrum, are very useful and functional regardless of your child's developmental stage. 

If you are in the San Diego area and are looking for a Speech Language Pathologist, please consider contacting Erica. In the short time that she has worked with Brady, he's really started to blossom! You can visit her at Speech Tree Therapy Center  or email Erica at info@speechtreetherapycenter.com for more information.

So, without further adieu, I turn it over to Erica Lawson, our speech guru. And, remember, it's never too early to work on developing speech, even with a neuro-typical or normally developing child. Everything we do in our day is a lesson in communication! EVERYTHING! 

Written by: Erica Lawson, M.A., CCC-SLP
Co-Founder, Speech Tree Therapy Center

When working with children with language delays or Autism Spectrum Disorders, engaging with them in play can be an excellent opportunity to teach them a variety of skills including waiting, turn taking, expressive and receptive language, and many academic skills.  The challenge comes when we are not sure where to start.  Following the 4 P's: Playful, Purposeful, Persistent, and Patient can help you stay on track and give you guidance for engaging your child in a meaningful way.  

Playful: Remember when you were a child?  That may feel like a distant memory to some, but I can still remember being a little girl and having so much fun with my friends and sister.  Sometimes we played with toys, sometimes we made up dances, and sometimes we created elaborate plays using our imagination.  My brother liked to play Star Wars, catch lizards, and play hide and seek.  Whatever it was, we were having tons of fun and all the while, learning!  When you are "working" on developing your child's language, think about the things he is interested in playing.  Choosing an activity your child is interested in will keep him more engaged and more likely to absorb the new vocabulary and language you are modeling.  Put yourself in his shoes and get Playful! 

Purposeful: Once you have honed in on some of your child's favorite activities, it is time to start thinking about the purpose of the play activity.  Will you be working on adding new vocabulary, speaking in longer sentences, following directions, or turn taking?  Take a few minutes before you start the activity to jot down your goal.  You should write down specific words you want to incorporate into the activity or specific directions you want to present during the activity.  Choose one thing at a time to focus on during the activity.  Setting a goal and giving yourself specific targets will give you direction during the activity and help you engage your child in a Purposeful way. 

Persistent: Now, you are feeling ready. You have chosen an activity you know your child loves and are ready to be really playful.  You have given lots of thought to your purpose, have set a goal, and written down some key information.  It is time to get going and knock this activity out of the park!  But as soon as you get involved in your child's play activity, it seems nothing is going the way you have planned.  Suddenly it seems that your child's favorite activity has now turned into chore.  Don't give up! You might decide to discontinue this activity for today, but try again another time.  Use the same goal as before and try to use the same or similar language.  Be persistent. Let your child know that you are there to be playful without a lot of pressure.  Trying again will also let your child know that you aren't going to quit when things don't go as planned. Your persistence will pay off!

Patient: Your persistence is finally paying off and you are playing easily with your child.  You are feeling more and more comfortable identifying your purpose for the play and being consistent with your language modeling.  You have learned to be so playful that other adults are not sure who is having more fun, you or your child.  So why then are you not hearing or seeing anything new from your child?  Remember that every child learns at their own pace.  Some of the progress is subtle.  Has your child learned the routine of the play activity? Is your child initiating with you by bringing the toys to you?  Is your child staying engaged for longer periods of time?  Whatever the progress is, celebrate it.  Be patient and the bigger moments will come too! 

While it may be tempting to stop the play and sit at a table to introduce new skills through structured tasks it is important to remember who your teaching, a young child.  Piaget's famous quote sums it up nicely.  "Play is a child's work."  Basically, children learn while they are playing.  Using the 4 P's: Playful, Purposeful, Persistent, and Patient during play can further encourage learning and language.  Keep these in mind when planning the next activity with your child and watch their language grow! 
© Miss Momvocate. Powered by